
If you are new to cloud computing or just curios as to what spearhead.cloud can actually do, this article is for you. Today we are going to explore how to get started with spearhead.cloud. First, our platform is a specialized, high performance B2B public cloud. To follow along with the examples in this article you will need a spearhead.cloud account. If you do not have a spearhead.cloud account you can request a free 30 day trial, no credit card or other commitment required.
Spearhead.cloud provides you with compute, network and storage, which are the building blocks of IT infrastructures and applications. Additionally we provide pre-built images for third-party applications such as ERP’s, CRM’s, web and database servers, security scanning, as well as cloud native solutions such as Kubernetes clusters, Hashistack (nomad, consul, vault, etc.) clusters and so on. We always keep a close eye on the market, listening to our customers and testing to find new solutions to old problems or new efficiencies than can help us better scale, provide enhanced security or lowering costs.
In our example scenario we are going to create one machine, a container running a UNIX system built for cloud called SmartOS. It will be configured to run the Apache web server.
As a IaaS platform, spearhead.cloud provides two distinct methods of management. The first is our Spearhead Cloud Portal, accessible at https://my.spearhead.cloud and the second is the node-spearhead CLI which allows you to manage resources using the command line. There is a third option as well that we will not cover here and that is the comprehensive CloudAPI.
The spearhead.cloud portal is a clean and simple to use web application that allows you to manage your spearhead.cloud resources using an intuitive web interface.
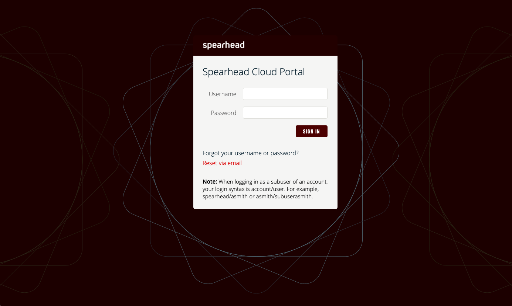
First access https://my.spearhead.cloud and you will be presented with a page similar to the following picture:
login page
This is where you provide your login details.
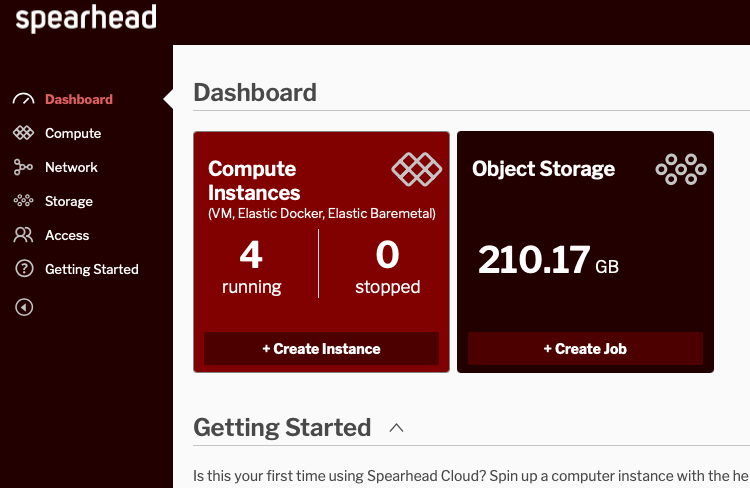
Once you are logged in you will be presented with the Dashboard which shows you a quick overview of your running Machines as well as used Object storage space along with a quick-start guide.
dashboard
From the Dashboard you can quickly see what is running and how much object storage you are using
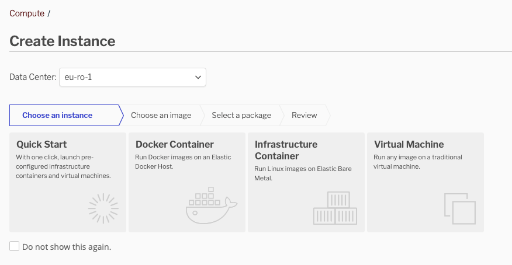
You can create a new Machine from the dashboard directly. Click on the “Create Instance” button and you will be taken to a guided wizard to help with provisioning your new machine.
Create instance
From the guided wizard you can use our Quick Start which are prebuilt and configured containers and virtual machines, a Docker container running in our unique bare-metal elastic Docker Host, an Infrastructure Container running SmartOS UNIX or a unique Linux container or a traditional Virtual Machine.
We are going to choose an Infrastructure Container. The next screen allows your to choose an Image. We are going to use the base-64-lts SmartOS server here. These are high performance containers that run directly on bare metal.
Now you need to select the package. The package defines the virtual resources that your new machine will get: think cpu, memory and disk. We are going to choose the s-1-1-50 package which gives us 1vCPU, 1GB RAM and 50GB Disk.
package selection
Choose a vibrant image and write an inspiring paragraph about it.
It does not have to be long, but it should reinforce your image.

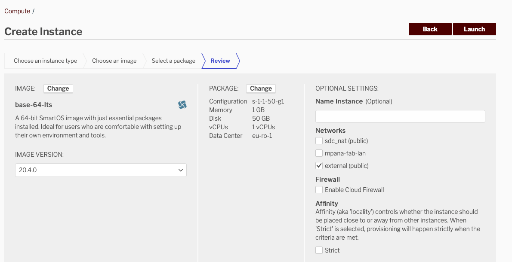
The next screen presents us with some final details such as the name, which is optional, one will be generated automatically for you, the networks the machine should be attached to, firewall, affinity (how close or far away from other machines should we place this new machine), CNS which we will cover in a future article and finally tags and metadata.
final details
We are only going to select just the external network as this gives us a public ip address.
Once we click on launch, the machine will provision. Since this is an Infrastructure Container it will generally take less than one minute to provision, often times less than a few seconds.
ssh to our machine
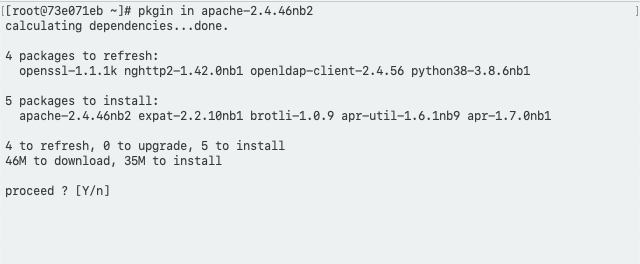
Now that the machine is running we can access it via the public ip address. We can just ssh root@ip.address and log in to see what is happening. Once logged in we can run pkgin to install packages, in this case we will install httpd.
check that is working
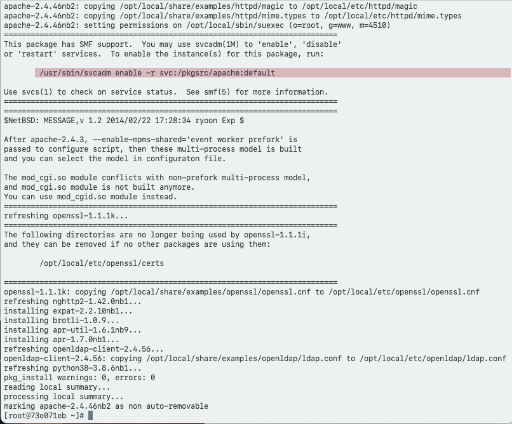
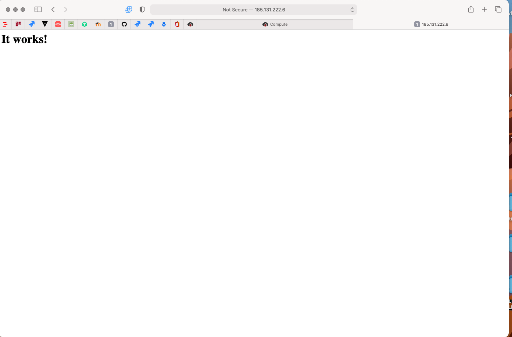
Now that we have enabled the service we can access the public IP and make sure everything is working.As can be seen in our screenshot Apache is indeed listening and from this point we can add our own site content or otherwise configure the system as required by our applications.
it works!
Choose a vibrant image and write an inspiring paragraph about it.
It does not have to be long, but it should reinforce your image.
This was a quick intro into how to use the Spearhead Cloud Portal to provision a machine using your web browser. In our upcoming articles we will look at doing the same thing using the CLI and then venture on to some more advanced automation tasks where we will provision systems using scripting and other automation frameworks. More articles in the pipeline will cover Linux both in traditional vm’s as well as containers and also Microsoft Windows.
If you’d like to learn more about SmartOS, a powerful UNIX system that was built for cloud and utilizes native container technology, give us a shout. We can help you automate the provisioning of entire IT infrastructure, complex distributed applications and much more, using our unique and simple to use cloud platform.